Virtual Build Teacher's Base Kit
Product Description:
This kit includes our Mini-Curriculum along with everything you need to build two skateboards. This allows you to have one board for practice and one board for demonstration in class.
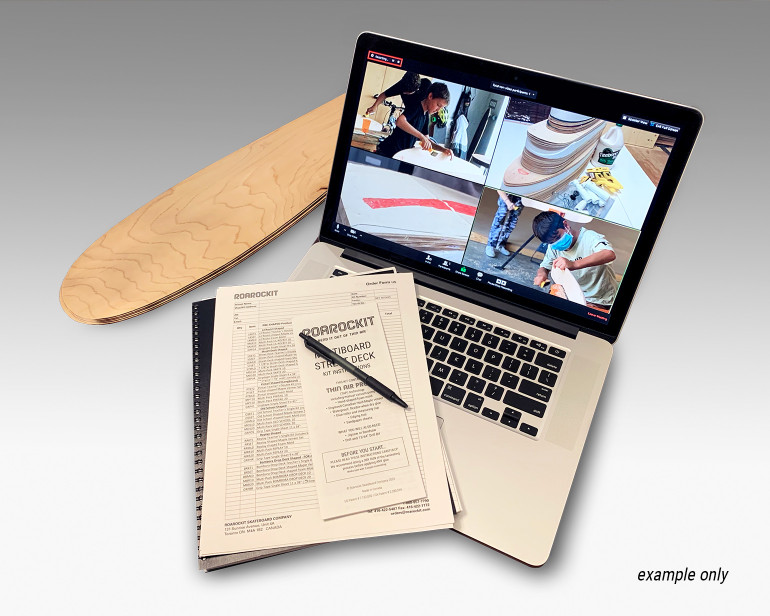
The “Online Session with Roarockit” includes a 30 minute video conference with a Roarockit expert to answer your questions. We can help with: building tips + tricks, engaging students, graphics, grip tape, how to use skateboard building for STEM + STEAM education, the benefits of online learning, taking it further (business and entrepreneurship, community outreach), and more!
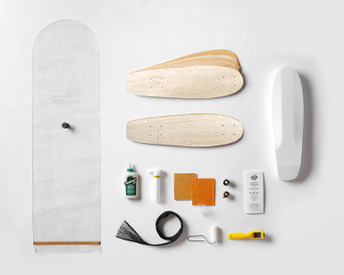
Virtual Build Teacher's Base Kit contains:
- (optional) 30 minute Online Ask the Experts Session with Roarockit
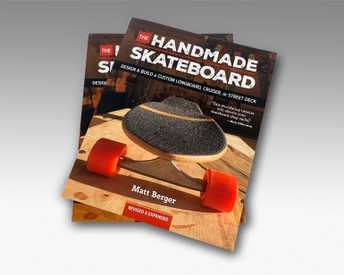
- 1 Teacher's Mini-Curriculum
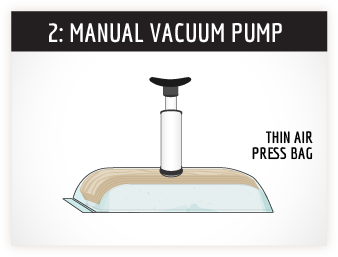
- 1 Thin Air Press Vacuum Bag (14x47")
- 1 3-Dimensionally Shaped Mold
- 2 Replacement Sealing Tape
- 1 Breather Netting
- 1 Glue Roller
- 1 Edging Tool
- 1 Thin Air Press Super Pump
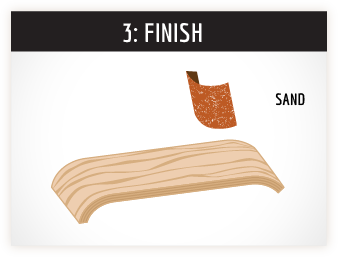
- 2 Sandpaper Sheets
- 1 Measuring Cup
- 1 Illustrated Instructions
and these Consumable Materials
- 2 Shaped Maple Veneer Sets
- 1 Titebond III Glue
The mini-curriculum includes details on how to set up a classroom for this project. It suggests what topics to teach and discuss before starting the class project. In illustrated detail, each step of the building and finishing process is listed. It also has a chart of other items that might be useful during the build sessions.
Ahead of time, (at least a few days before) learn the process first with the extra veneer set so that you are prepared before teaching the program.
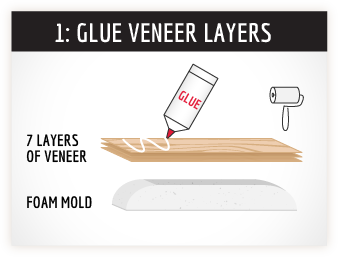
Each student will roller on glue, lay up the veneer sheets and press their own skateboard inside a Thin Air Press vacuum bag.
Each student will have their own bag, mold, veneer set, glue, and tools.
Add grip tape to your order to expand the course and the learning outcomes.
Use the focus of making a skateboard to get the attention of hard-to-engage students in an activity they are passionate about.
Or use the board building activity as a team building, mentorship, entrepreneurial, fundraising or outreach program, among many other possibilities.
The foam mold, Thin Air Press Bag and pump, edging tool and breather netting are designed to be used for many, many builds.
Keep all your reusable kit parts in good working order by following the maintenance tips included with the kit
Q: How long will it take to complete these boards?
A: The minimum length of time, with graphics, would be 12.5 hours. And there really is no maximum length of time, as many teachers continue with the graphics part for an entire term.
Q: What age is recommended for this program?
A: We recommend not younger than 10 years of age. Many younger students are eager, but their dexterity and skills are not quite enough to manage.
Q: What about applying the graphics?
A: While we do not have pre-printed graphics sheets as with our other shapes, making a custom board is even more exciting if the students design and paint their own graphics. Involve the school’s art department if you are not comfortable with that aspect of the project, or a local visiting artist.
Q: What kind of graphics can be done?
A: We have had our best successes with student-grade acrylic paints and mylar hand-cut stencils. Spray paint, safely done outside or in a spray booth, and wood burning, work really well too. “Sharpie art” is fun, although any hand painting process is a one-chance process and is sometimes a surprise. Airbrushing, staining, marquetry and inlay techniques are all done successfully on hand made skateboards. There is no best answer to this question!
 Loading... Please wait...

 USA
USA


 Calculated at checkout


